|
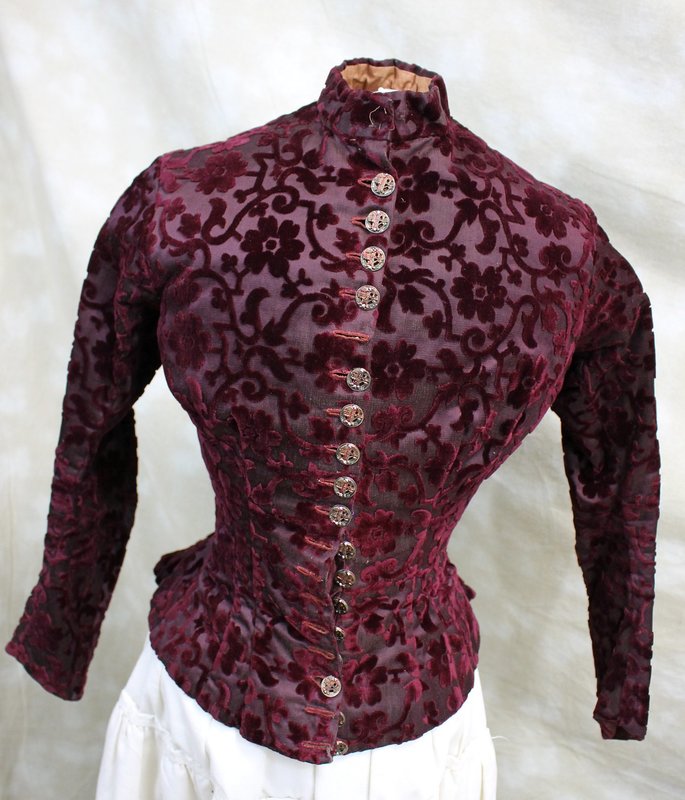
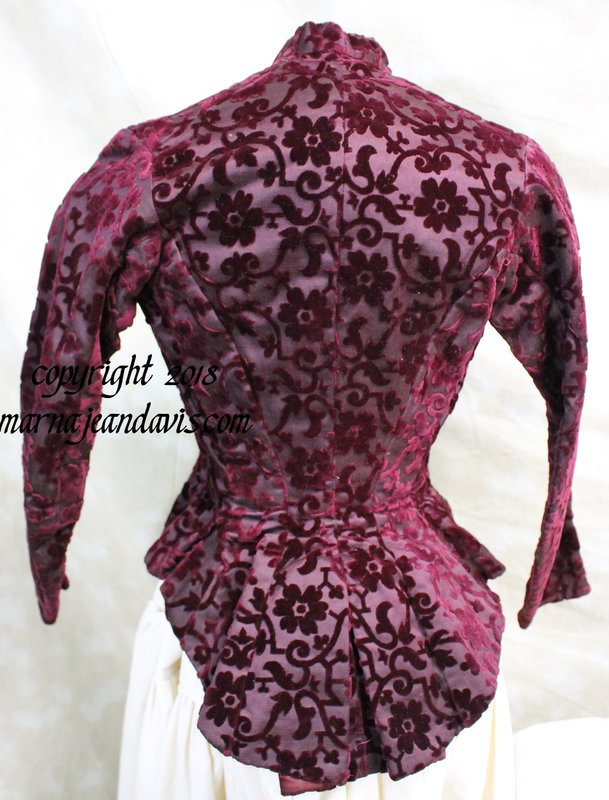
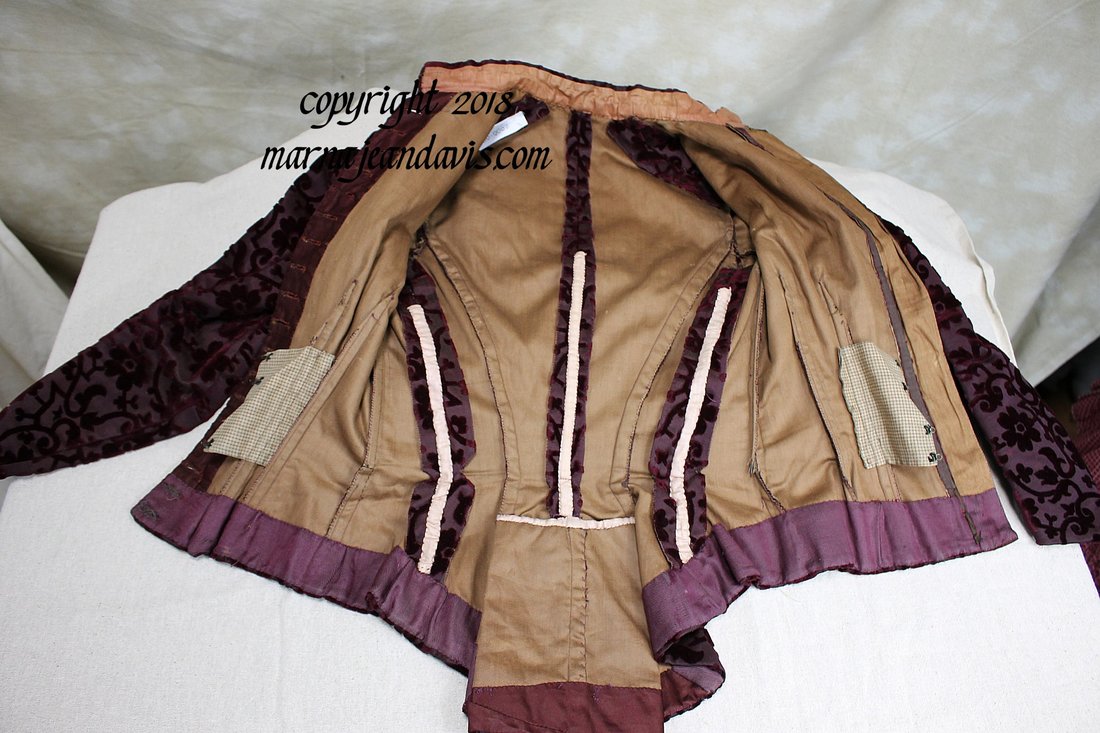
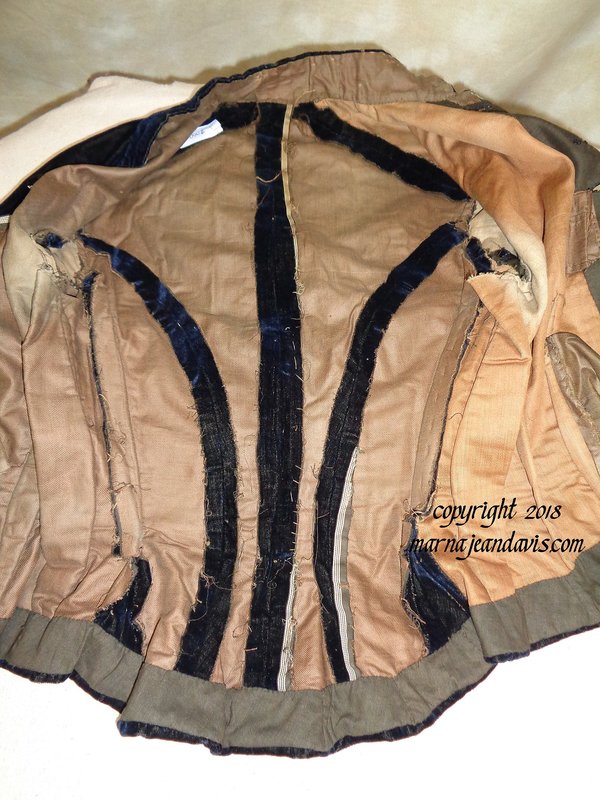
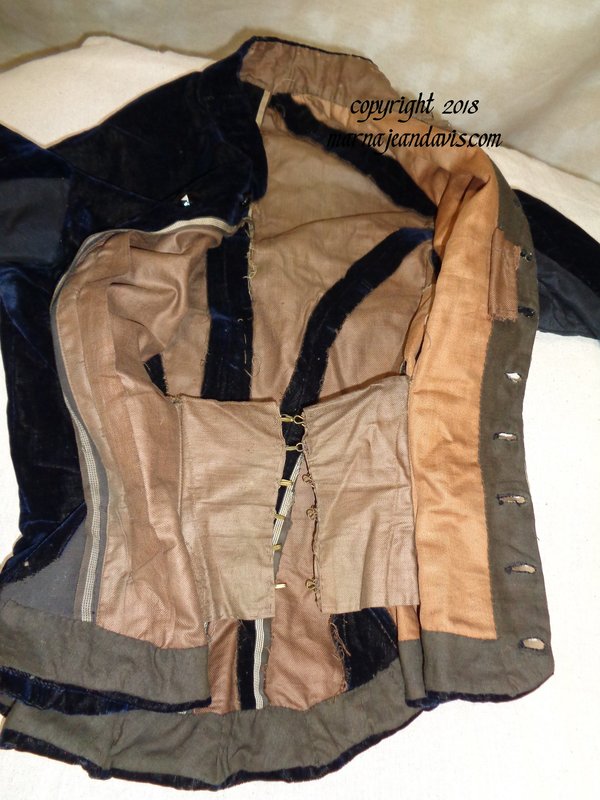
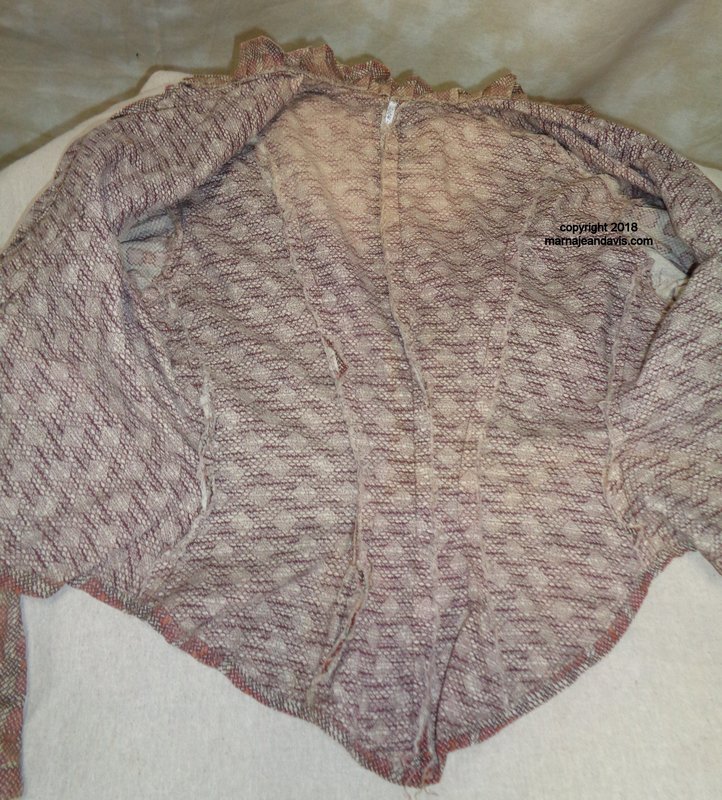
Trying to replicate a Late Victorian Bodice can seem daunting. Patterns are available, but some are more correct than others, and some companies take modern shortcuts that can make fitting harder later on. They seem complicated in construction, and endlessly varied. In reality if we follow the sewing techniques that the ladies of the time used, we are more likely to get a better end result, that is closer to how the originals would look. One of the main differences you will immediately see between modern pattern instructions and extant garments is that bag lining was not used. The most common method was flat lining with bias hems applied to bodice bottoms. How did they get the lining and outer layers to match? What kind of linings did they use? Do you have to use linings? How was the interior finished? How do you finish the bottom edge? Today's post is some views of bodices from my personal collection that are good representations of general guidelines for construction of a reproduction bodice or waist. Click on images to see larger views. Inside look at the above bodice. Things to note:
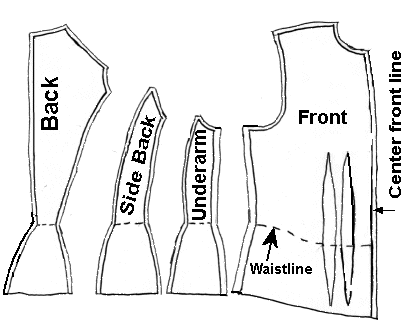
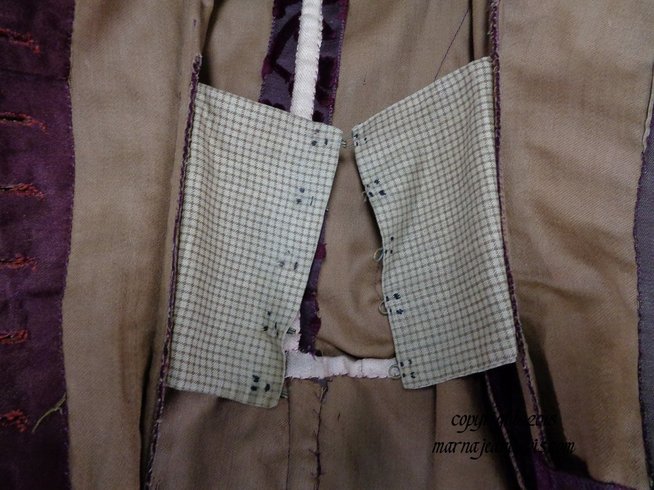
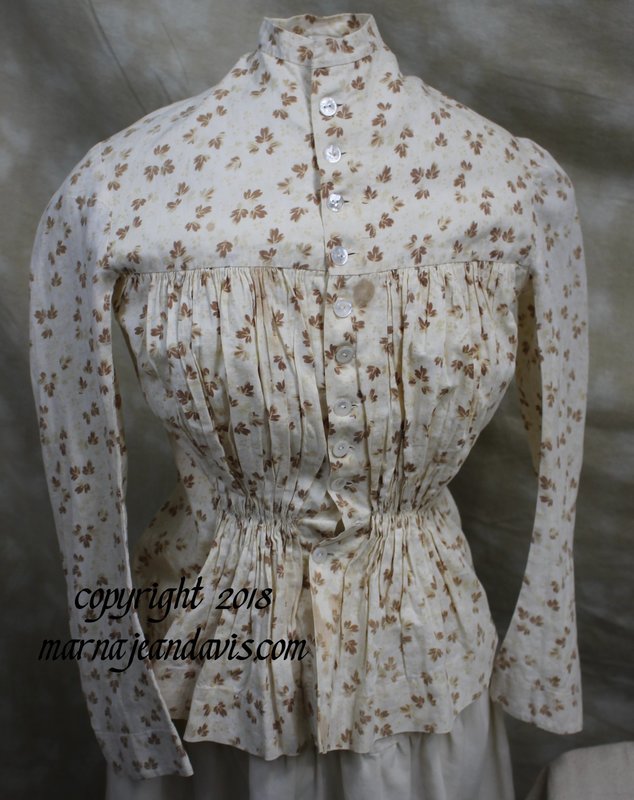
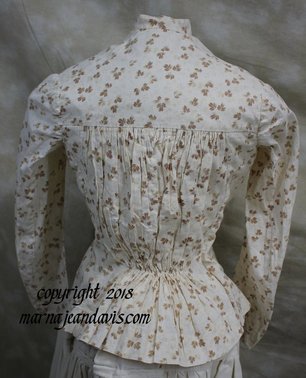
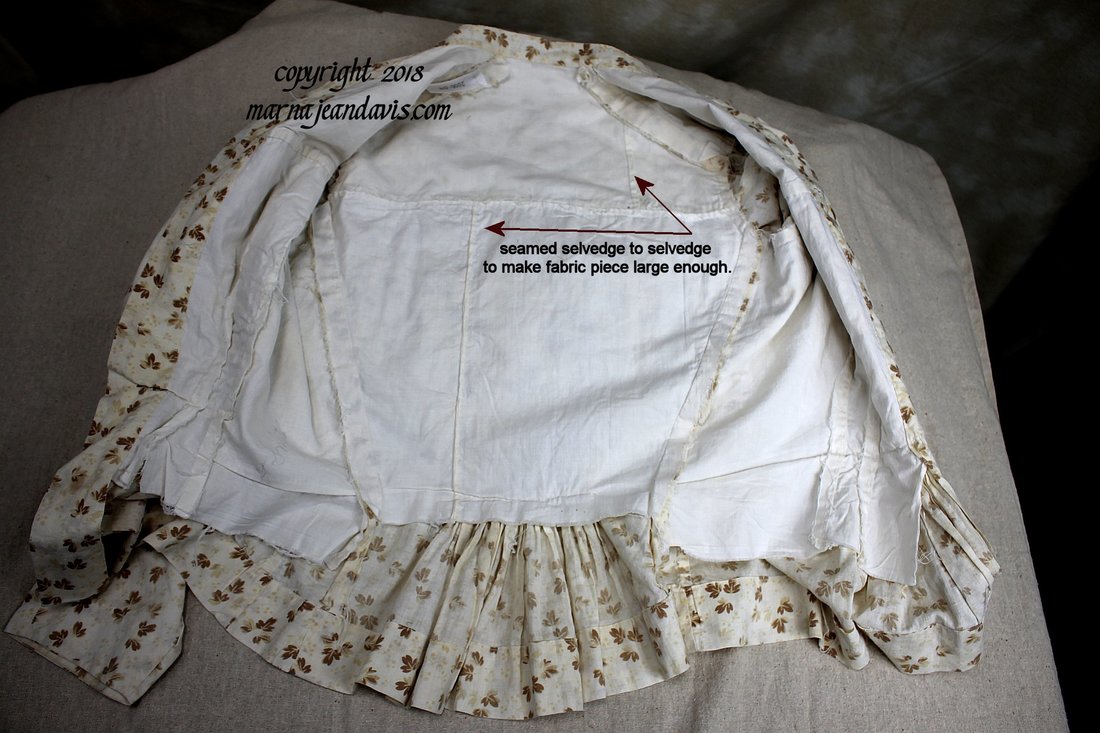
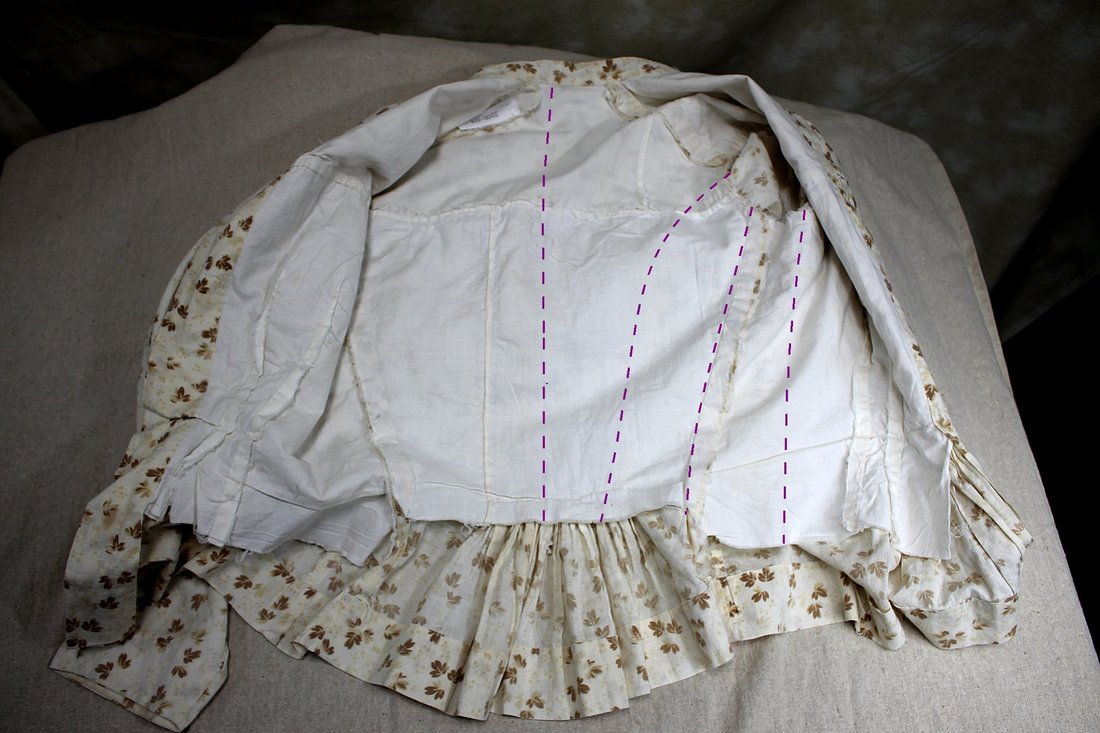
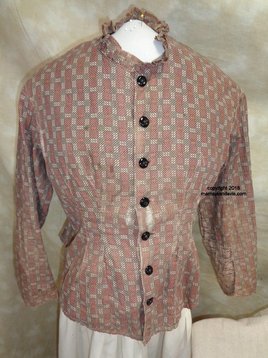
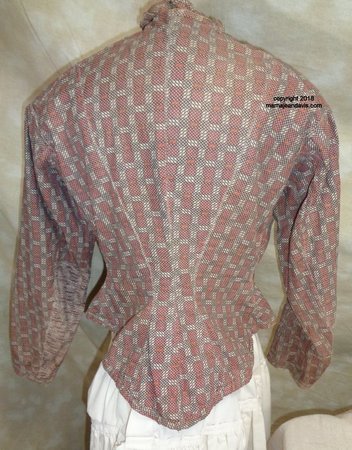
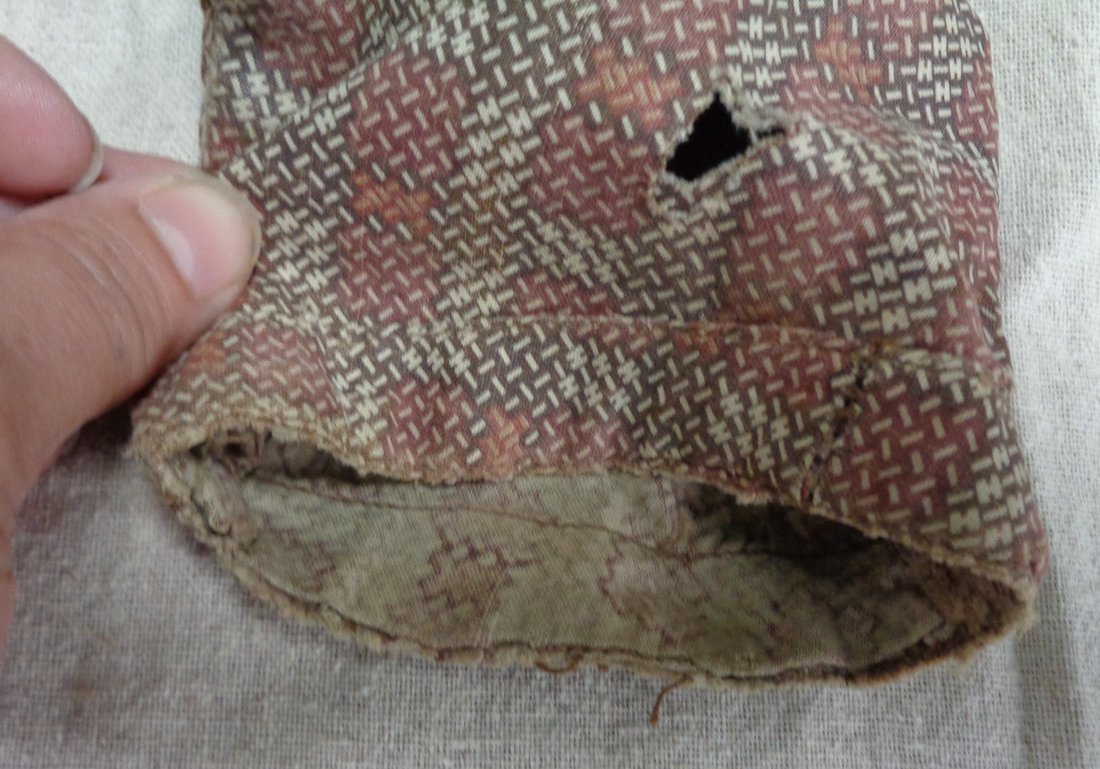
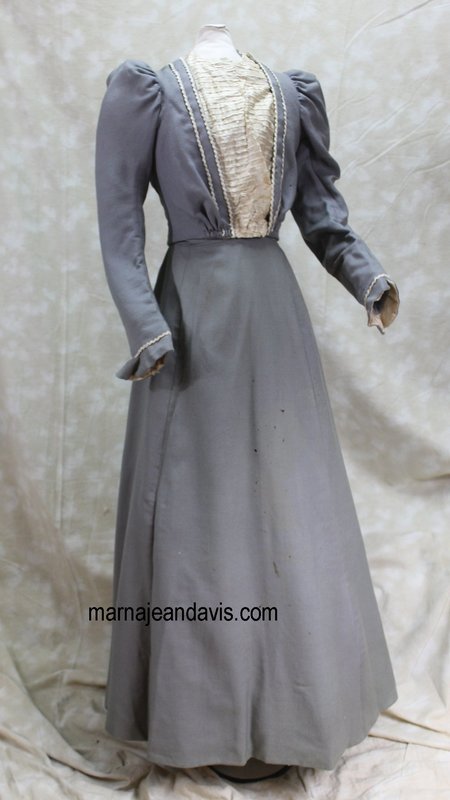
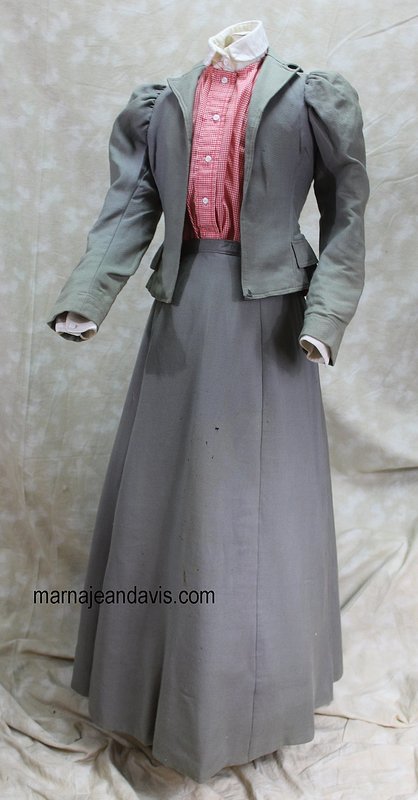
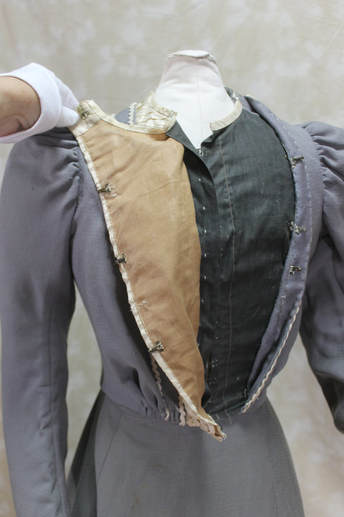
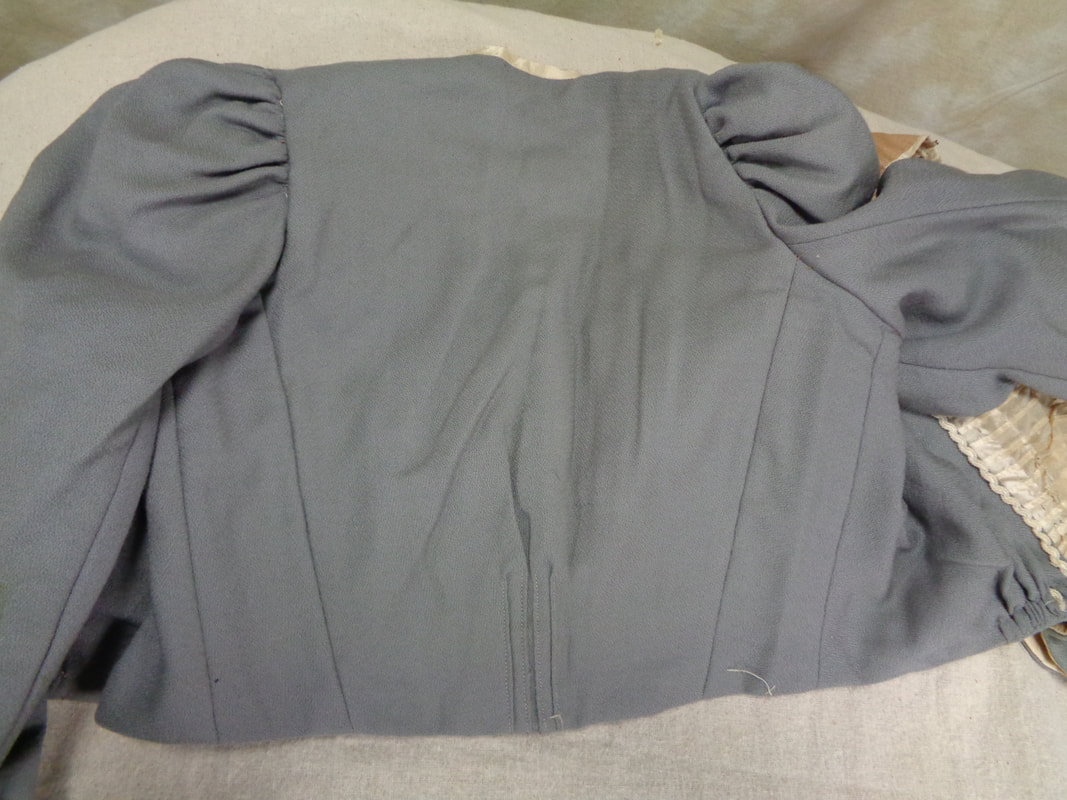
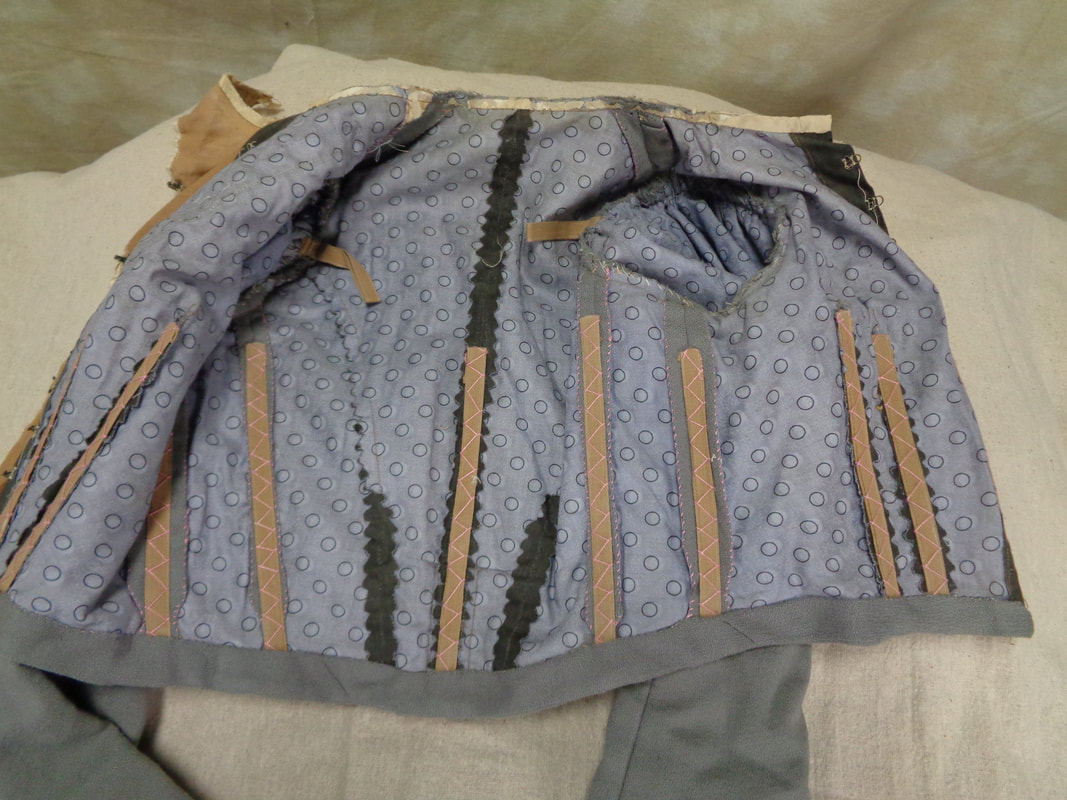
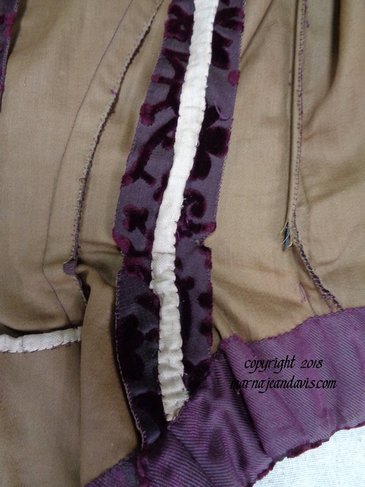 A bit closer look at the side back and underam seams. The wide seam that is pressed open is the side back to underarm piece seam. Notice that it is notched slightly at the waistline to allow for the flare of the hip. The casing for the boning is whip stitched on, you also will see it feather stitched on at times. The seam to the right is the undearm to front seam, the edges are whipped together and boning is inserted into this channel. you can barely see it peaking out. On the bottom edge is a silk twill used for the bottom facing of the bodice. Most bodices do not have shaped facings (the exception being sometimes the back panel for pleats) Usually a simple bias cut about 2-3 inches wide is used to finish the bottom edge. This makes it easier to adjust your bodice for good fit. If you cut a shaped facing, then to get a good fit you must cut your facing after the bodice has been fitted, which is much more complicated. Using bias lets you adjust for curves of the bottom and be flexible after final fitting. Inner "belt" attached at darts, to take strain from waistline buttons. Notice that the excess dart fabric has been trimmed away. 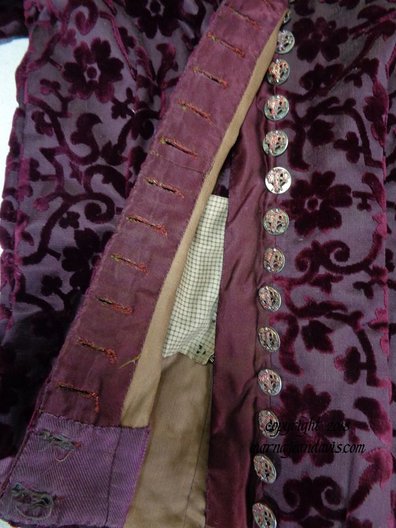 Button facings. To reduce bulk in heavier fabric, the extension behind the buttonholes, and the facing for the overlap are both cut from a matching silk fabric. Thinner fabrics and cotton fabrics usually just have the edge extended and folded back. This is blouse or waist made to be easily washable. From the outside you would expect it to be unlined, but the bodice portion is actually lined. This helps reinforce seams, and gives you a longer wearing garment by absorbing body dirt and giving strength to the outer fabric. The waist is only lined to just below the waistline level, and is fitted. both the back yoke and the back bodice have linings that have been pieced to make them big enough to cut the lining pieces out. The piecing is sewn together selvedge to selvedge. The bottom of the lining is not hemmed, ad the seams are not overcast. This is fairly typical in wash dresses. Washing by hand and the fact the fabric is of a good tight weave keeps them from unraveling in the wash. Pinking would not be used to prevent raveling on inner seams until the 1890's. The hem of the waist is done by machine stitching. Lining is darted with standard two darts on each side. Front facing for buttonholes and buttons is simple an extension of the front line that is folded to the back. They are most often cut on the selvedge edge of fabric so that the edge does not require finishing that would add extra bulk. Above I mentioned that bodices from the 1880's and 1890's generally had the same standard 4 pieces. In a less fitted washable waist like this pieces may be combined. IN this one the back and side back pieces are cut as one, and the underarm and front pieces are cut as one. The outer gathering of fabric to yokes allows for the needed hip room instead of the extra seams flaring out at that point. The sleeves are not lined in this garment. Also notice as this is not as tight a fit, it has no inner belt. This is a great example of an everyday type garment. The basque (a basque is a fitted bodice that extends below the hips) is lined with what seems to be the leftovers of another garment. Both bodice and sleeves are lined. The body of the garment wrong sides of fabric are placed together and then treated as one fabric piece. The sleeves the right sides of the lining is placed toward the wrong side of the outer fabric. I suspect this was done on purpose, as one sleeve has been mended several times with patches but the other sleeve the worn through outer fabric was enough damage it has been cut away and the edges neatly folded under and stitched to the lining fabric as a mend. The bottom edge of the bodice is bound by machine with self fabric binding. The width on the inside is about 3/8" of an inch and turned to the outside of the bodice and stitched down at about a half inch width. Sleeve hems are 3/4 inch bias turned to the outside and stitched down by machine. This set in my collection came with both a bodice, and a jacket meant to be worn over a shirtwaist. The jacket has been worn for a longer period or in more sun as it has some distinct fading, but it is definitely from the same outfit.
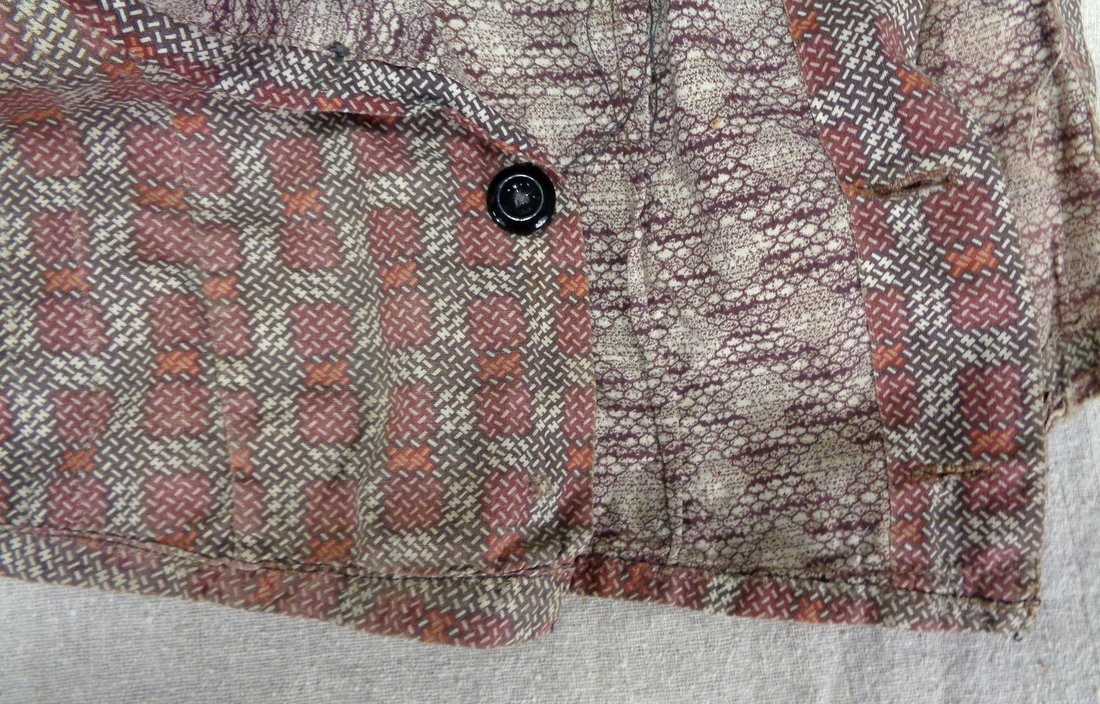
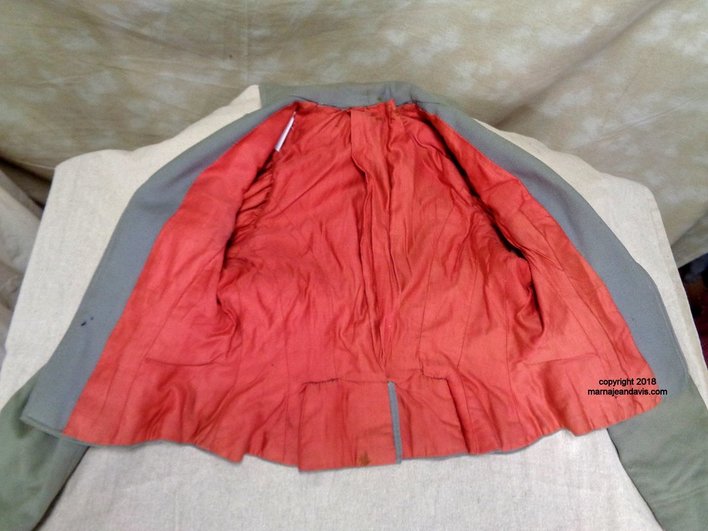
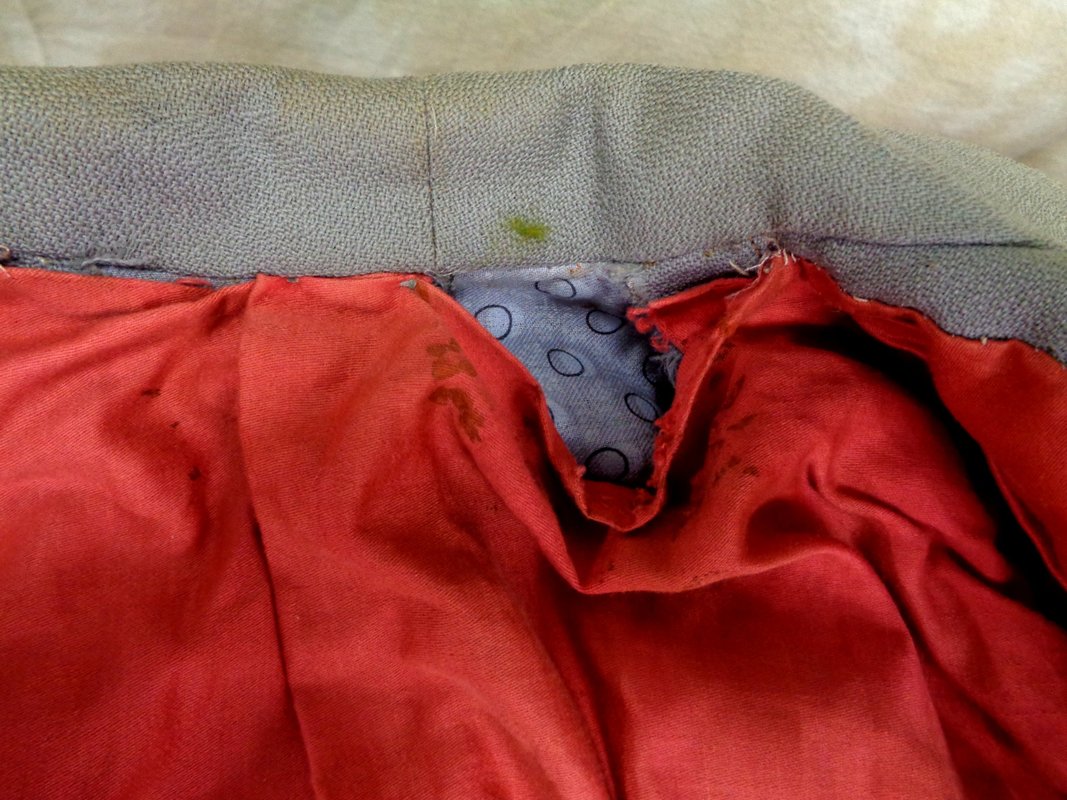 The matching jacket is constructed without boning. Has a flat lining similar to the bodice, but then is lined like a normal man's coat. The red lining is cotton sateen or farmer's satin. I have seen coats for women both treated in this manner AND I have seen them flat lined- usually with bound seam edges. This photo shows near the collar where the hand stitching has come loose and you can see the flat lining. So there you have a peek at the "innards" of a few of the pieces in my collection.
There are some great online resources for Victorian/Edwardian Dress construction some I recommend are: Instruction book for the French and English Systems of Cutting Fitting and Basting- 1881 J. McCall Keystone - a Textbook of Cutting and Designing Ladies Garments The Dressmaker
3 Comments
|
AuthorPainfully obsessed clothing historian, Archives
January 2022
Categories
All
|
 RSS Feed